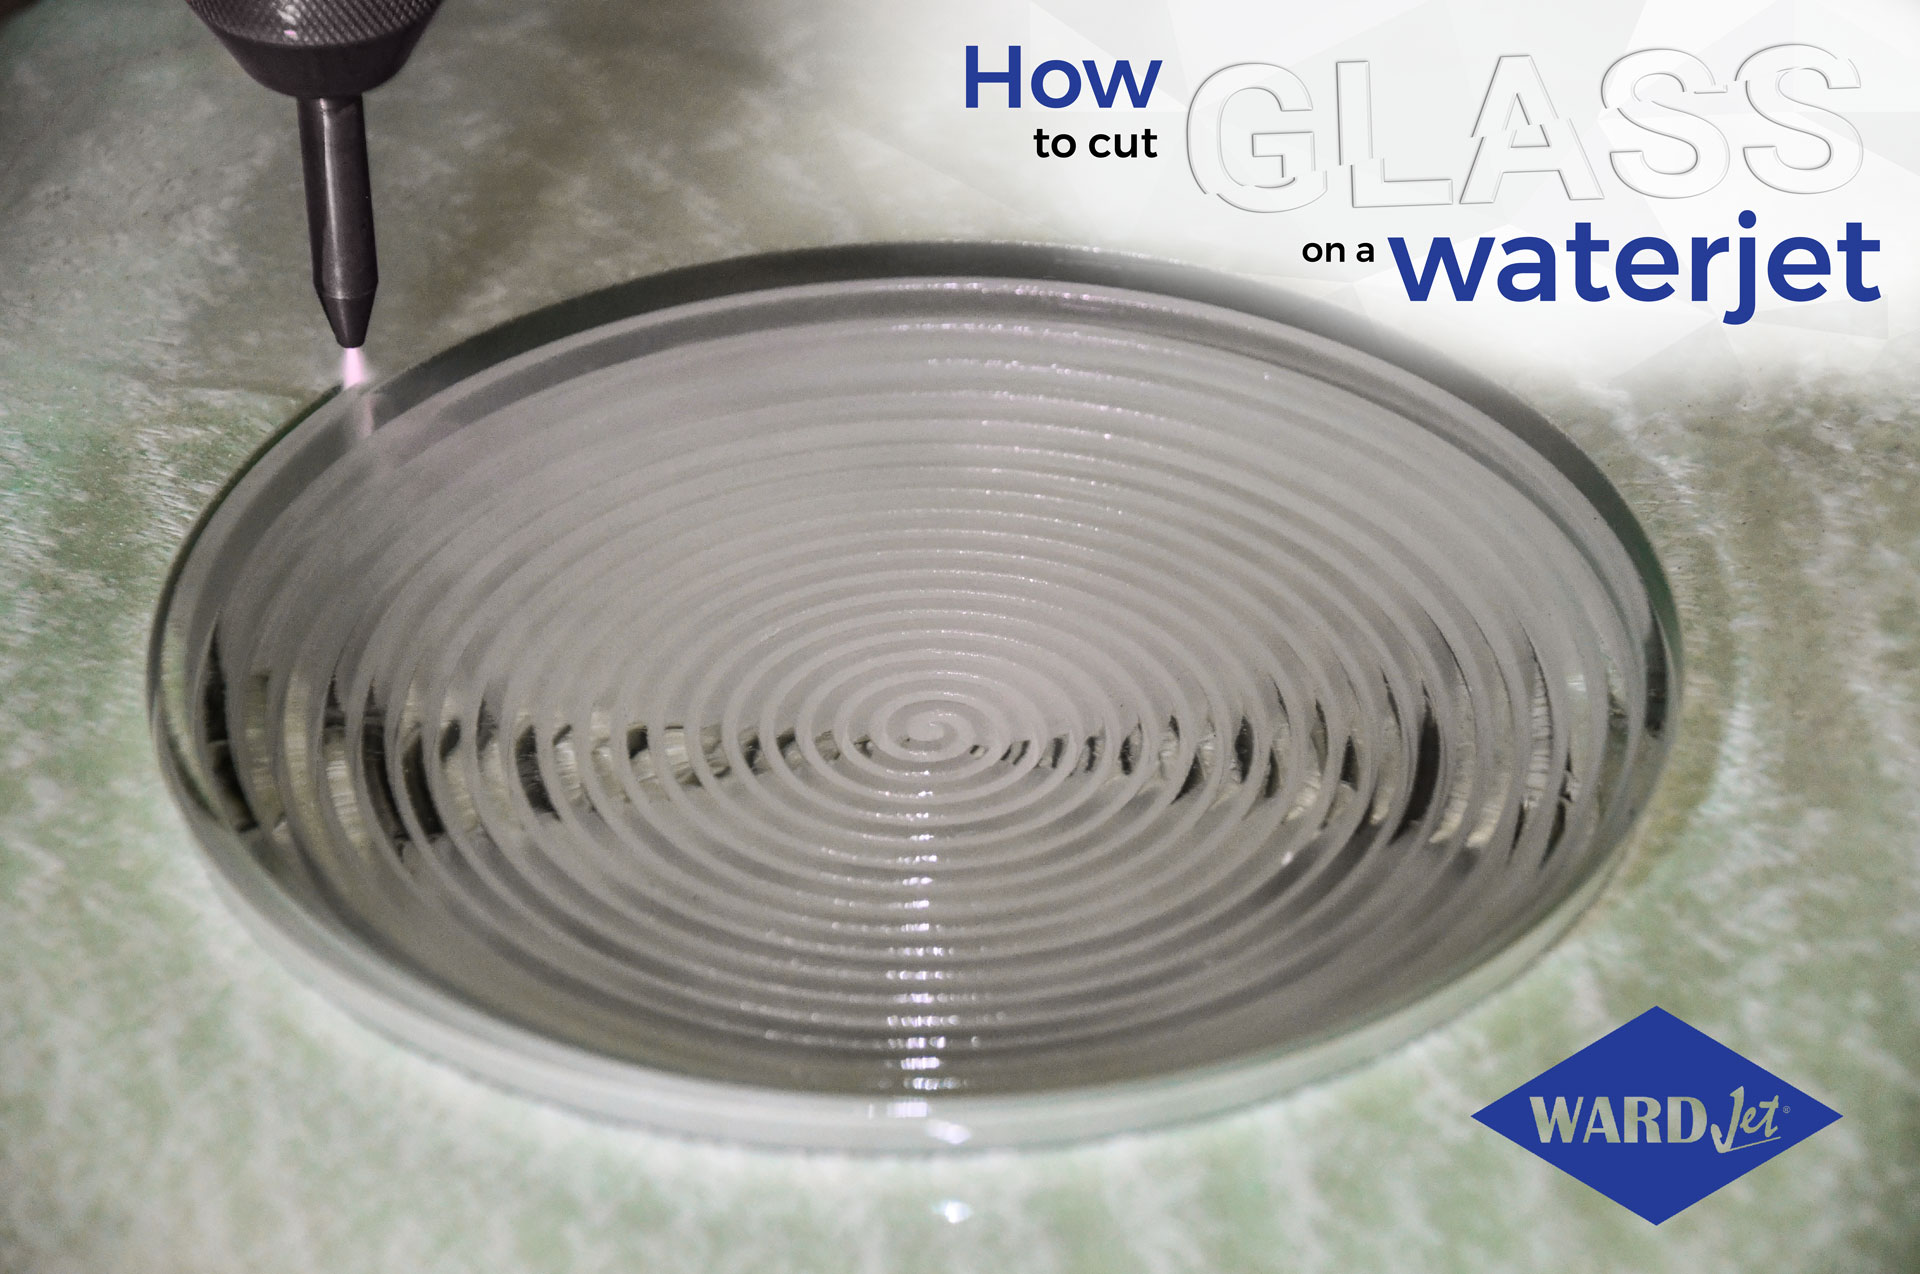
Versatility is the ability to adapt to many different functions or tasks. If you ask us, waterjet cutting systems are the epitome of versatility. While we might be slightly biased in our opinion, there aren’t many other machines that allow you to go from slicing through 12 inches of solid titanium to making precision cuts in 1 mm glass sheet without changing any tooling. The ability of a waterjet to switch between vastly different materials in no time at all is impressive, more so is the superb quality of the resulting cut. But while a waterjet will do most of the legwork when transitioning to a glass workpiece, a little extra effort from the operator will go a long way in achieving the desired final product. The following step-by-step guide will walk you through our process of cutting glass on a waterjet, helping you to expand your capabilities as well as your total service offering.
Note: As a safety feature, tempered glass is designed to shatter into many small pieces when punctured, and therefore is not suitable to be cut on a waterjet.
Step 1: General Housekeeping and Personal Protective Equipment
The first step in successfully cutting parts made of glass is making sure that the work area is free from any potential trip, slip, or fall hazards. The potential for injury from these incidents is increased substantially when working with glass materials, as the glass may shatter into sharp pieces that can cause further harm to the operator.
Before placing the glass cutting piece on the waterjet, ensure that the floor around the machine is dry and free from any loose cables, hoses, or debris that may cause the operator to trip or lose their balance. Keep the work area uncluttered and leave sufficient room to walk around the machine and access the workpiece. If possible, sweep the surrounding area to remove small hazards such as dropped screws or bolts. Clearing the work area of potential hazards will decrease the likelihood of breaking the glass cutting piece and, more importantly, ensure the safety of the waterjet operator.
It goes without saying that proper personal protective equipment (PPE) should be used no matter what material is being cut, but especially is the case when cutting glass. Gloves, eye protection, and closed-toe shoes are extremely important when working with glass, as the laceration risk is increased due to the nature of the material.
Step 2: Pre-Cut Preparation
When cutting glass, we recommend that either 120 or 150 abrasive mesh be used. This finer abrasive will decrease the chance of cracking, chipping, or shattering, and will improve overall edge quality.
Ensure that the waterjet cutting table is level. An unlevel or otherwise unstable cutting table can cause stress on a glass workpiece and will often lead to uneven cuts and poor edge quality.
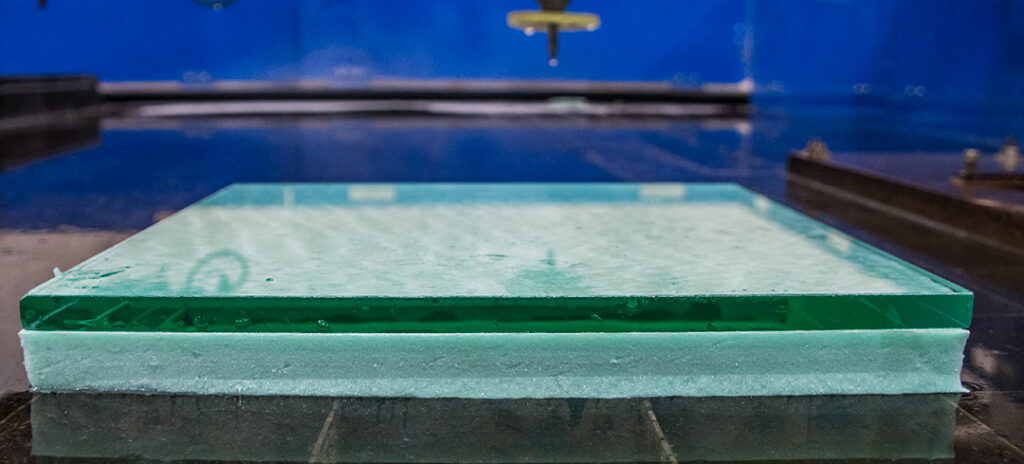
It is recommended that a soft yet sturdy sacrificial material such as wood, foam, or drywall be placed between the cutting table and a glass workpiece. This will provide an even foundation for the workpiece, prevent damage from contact with the metal cutting table, and reduce frosting on the underside of the glass due to the abrasive reflecting off of the support grates.
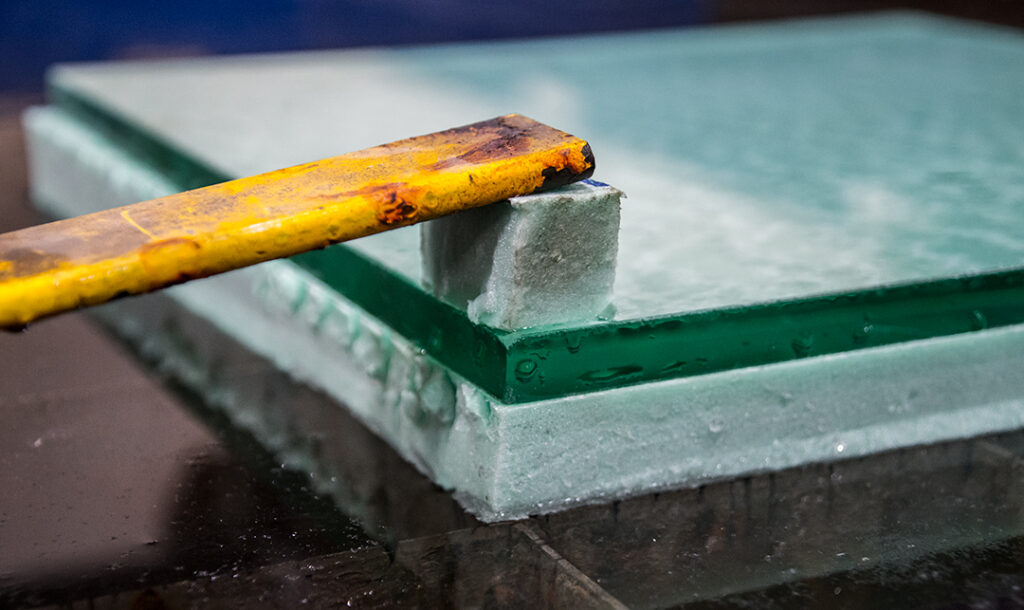
If fixturing the glass workpiece to the cutting table, place a soft buffer material between the workpiece and the clamp to prevent damage.
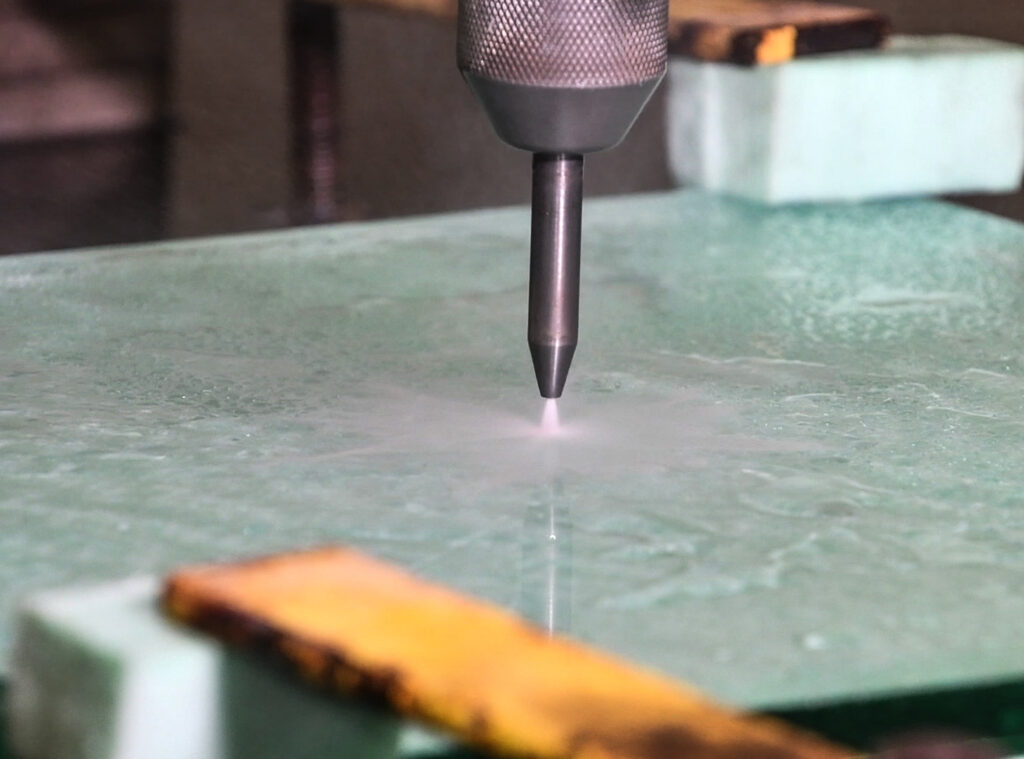
Be sure to keep a low standoff distance from the workpiece. A nozzle that is too far from the material will cause frosting due to the abrasive straying from the waterjet stream.
Step 3: Cutting Procedure
Once the workpiece has been fully supported and is completely level on the cutting table, it is time to start cutting. Pre-pierce all of the start points on the glass by using the following method:
Note: Depending on machine options, WARDJet’s CAM software can automate the following process.
- Reduce the operating pressure to between 15,000 – 20,000 psi. Experiment with lower and higher pressures until the desired result is achieved.
- Reduce the abrasive flow to approximately .2 – .3 lb per minute. As the pressure is reduced, it is necessary to reduce the abrasive flow to prevent clogging. If abrasive clogging persists, reduce the abrasive flow further.
- When piercing glass workpieces, there must be movement involved in order to prevent cracking of the material. It is vital that the abrasive and water are switched on simultaneously and movement starts immediately. The type of movement is irrelevant; it could be a small circular motion or a back and forth motion, but the movement must be simultaneous with the switching on of the water and abrasive.
After pre-piercing the starting points, set the abrasive flow rate back to normal and return the pump pressure to 60,000 psi. Proceed with the full cutting job, ensuring that the pierce points go through the pre-pierced locations.
Check the speed of the cut on the glass. There will be a vertical force created by the abrasive eroding through the glass, which will add stress to the workpiece. In thin sheets of glass, it may be necessary to slow down the cutting head to avoid adding excess vertical pressure to the sheet.
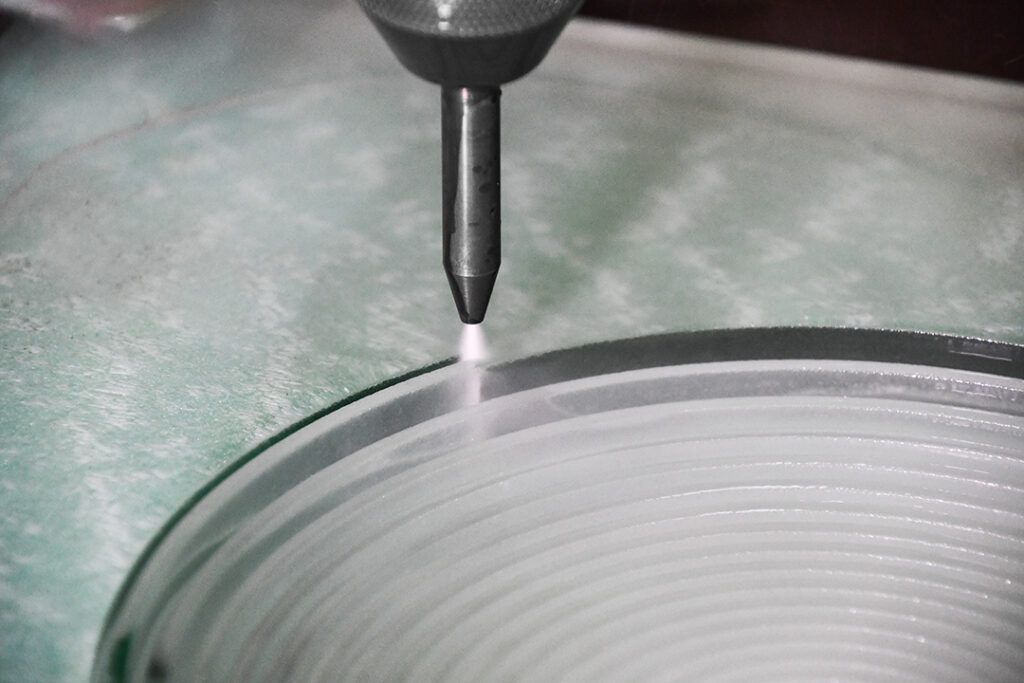
Be sure to include a controlled lead-out every time a cut is closed or the cut leads off the edge of the workpiece. If this is not done, the last corner exposed to cutting is likely to crack or chip off.
Because the cutting of glass usually requires a slower cut in order to avoid cracking or chipping, it is possible to cut multiple workpieces at once using stacking. Test the viability of this on a sample of the material before applying it to the final workpiece.
Step 4: Removing the Workpiece
Carefully spray off and unclamp the workpiece from the table. Be aware that the structure of the glass has now changed and the workpiece may need to be handled differently in order to prevent damage. Ensure that proper PPE is worn during removal and dispose of scrap glass in accordance with local regulations.
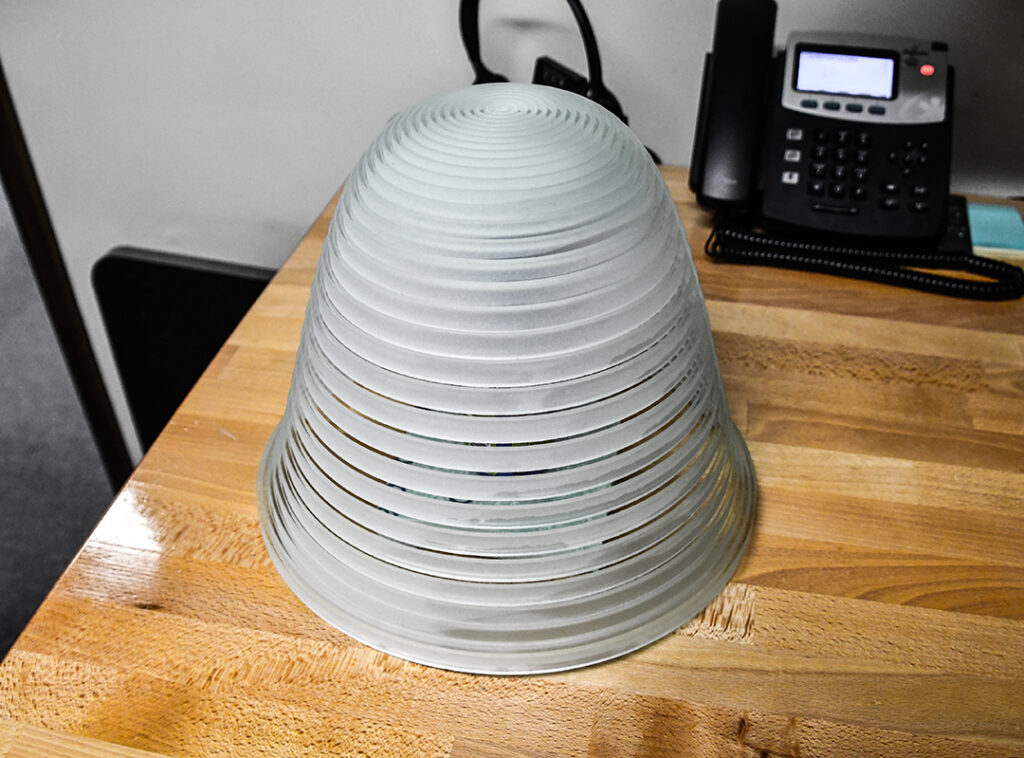
Cutting glass on a waterjet doesn’t need to be complicated. Following these guidelines should help to reduce the likelihood of damage to the workpiece and ensure a satisfactory end product. Feel free to contact us with any questions you may have regarding glass cutting or waterjet cutting in general.

